Media Presets
Media presets are media clips (video or JPG) that can only be played on Pixel Matrices and Content Targets.
Media is imported by clicking Create New in the Media Presets pane. A dialog will open as shown above for you to browse to wherever your media files are located, enable Thumbnails view to preview them. Designer supports most common media files, and it matters not at all the resolution of the media clips as the software will up/down-scale as required when the Media Preset is placed on a Matrix during programming. In short, no media preparation should be required. The first frame is used as their thumbnail in the directory, they can be named using the name textbox at the bottom of the directory pane and they can also be deleted.
Imported media is automatically resized to fit a Pixel Matrices’ Render Window, the pale grey area of the Matrix. Only fixtures/pixels within this Render Window will receive the media which is why Render Windows should typically be cropped (see above) to force the media to fit onto just the fixtures.
Media Limits
The maximum media limits are below:
| Framerate | 33fps - (dependent on Playback Refresh Rate) - the DMX protocol refresh rate is 33Hz by default, so any media with a greater framerate would be capped at 33fps, while lower framerates will display at source framerate. Note; Controllers can also run at 44Hz or 60Hz, so can handle media at higher refresh rates in those modes, see Playback Refresh Rate for more info. |
| Bitrate | 5Mbps ought to be sufficient for 1080p30, reducing to 1Mbps for 360p30 |
| Resolution | 1080p - Best results will be achieved by matching the media resolution to the output resolution (Pixel Matrix or Content Target) |
Media File Formats
The following file formats can be imported as media clips:
- .asf
- .avi
- .divx
- .dv
- .f4v
- .flv
- .m2v
- .mov
- .mp2
- .mp4
- .mpe
- .mpeg2
- .mpeg4
- .mpg
- .wmv
- .jpg
- .jpeg
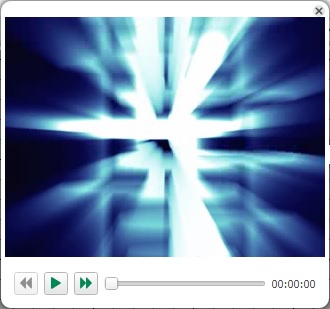
Media Preview
Double clicking on the thumbnail of a media preset will open the Media Preview window. This allows you to watch the media clip that has been imported.
Replacing Media
If you move the media relative to the project file, you will need to replace the content. Right click on the Media clip and select Replace to reset the file path.
This can also be used to change the media file associated with a particular clip within the project.
Designer will automatically search the selected location for any other missing media.
Custom Presets
NOTE: Custom presets are an optional feature, and must be turned on from Project Features.
NOTE: The VLC and VLC+ do not support Custom Presets and thus these will not be available for projects using these controllers.
Select the Custom tab. Custom presets can only be played on Pixel Matrices.
Custom Presets use a Lua script to define an effect that can be played back on a Matrix. You can use this to create effects that are not available as standard in Designer.
To create a new Custom Preset, press New in the Custom Presets tab on the right. This will open a script editor dialog:
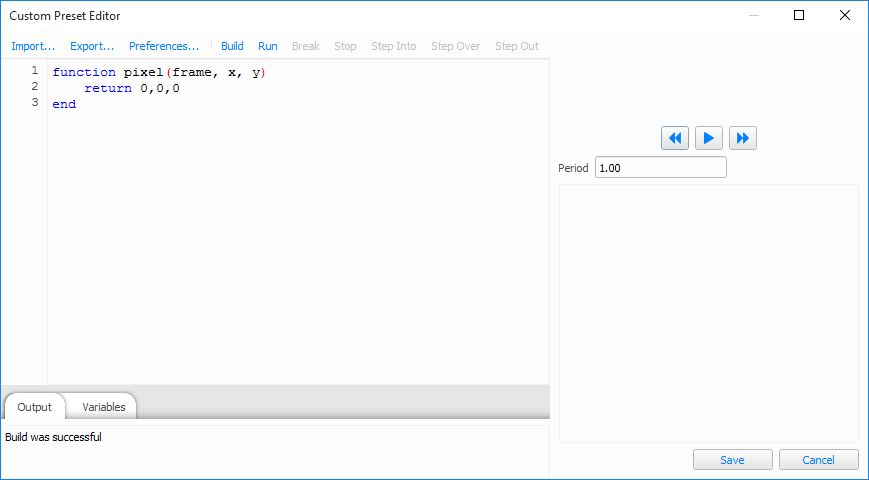
The script editor initially shows the framework of a custom preset. You can either enter the source yourself, or you can load the source from a file using Import. Designer provides sample scripts which are located in Program Files at \Pharos Controls\Designer 2\resources\scripts\custom_presets.
After editing or importing a script, you compile it by pressing F7. If there are any errors in the script, they will be reported in the Output tab. If there are no errors reported, it is advisable to run the script to preview the preset. To run the script, use Run (F5). If the script takes a long time to run, or appears to have got stuck in a loop, use Stop (Ctrl+F5) to stop execution.
IMPORTANT: When working in the script editor, if your script does have an infinite loop, you are able to stop it executing by pressing Stop (Ctrl+F5). However, outside of the debugger, there is no such way to stop the execution of a badly-behaved script. This will result in Designer locking up and will have to be shut down manually. You must ensure that your scripts do not have such errors in them.
A preview of the preset will be generated and shown on the right of the script editor. You can start and stop the preview and step forwards and backwards with transport controls below the preview. Altering the period below the preview and pressing Run (F5) again will generate the preview again with the specified period.
If the preset defines any properties, after the script is successfully compiled, suitable editors for these properties will be displayed below the preview. You can change the values of these properties and rerun the script using Run (F5) to observe the effect of those properties in the preview.
Once you are happy with the preview, close the script editor. The preset can now be placed on Matrices on a timeline.
You can edit the source of the custom preset script again by selecting it in the Custom tab on the Mapping pane and pressing Edit. If you edit a preset that is already used on a timeline, any changes you make will be applied to everywhere where the preset is used.
Refer to the script editor documentation for more information on editing scripts, the custom presets programmers guide for help on creating a custom preset from scratch and custom preset examples for examples of custom scripts.